
Blog
Post-Processing: Painting 3D Printed ABS Parts

May
In This Article:
- Materials Needed to Paint a 3D Printed ABS Part
- Steps For Painting a 3D Printed ABS Part
- Tips for Painting Your 3D Printed ABS Part
3D printing can serve a great purpose when used for making prototypes and test parts, but what about final production pieces? When a part comes off of an FDM 3D printer, you will most likely see inconsistencies and small blemishes due to the way the technology works. Even more so, you will see layer lines. This is inevitable when printing with FDM technology. How can we make a print look like a finished piece? While there are many methods (acetone vapor, tumbling, sand blasting, etc), painting can give the best results, while still retaining dimensional accuracy.
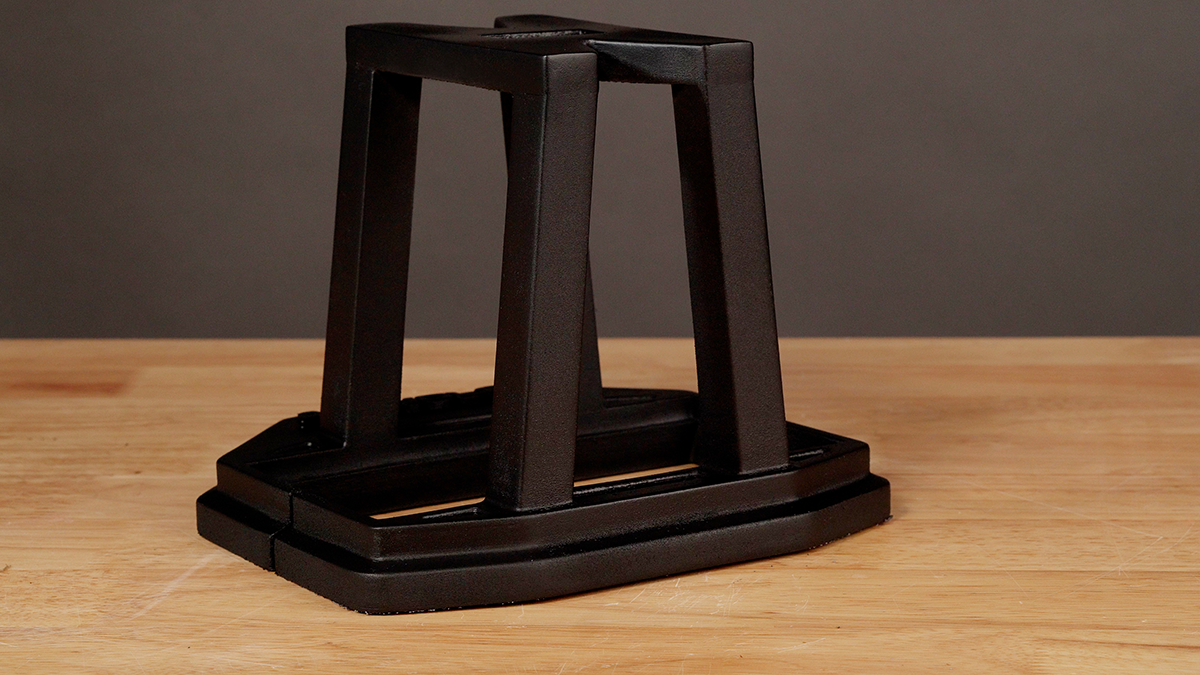
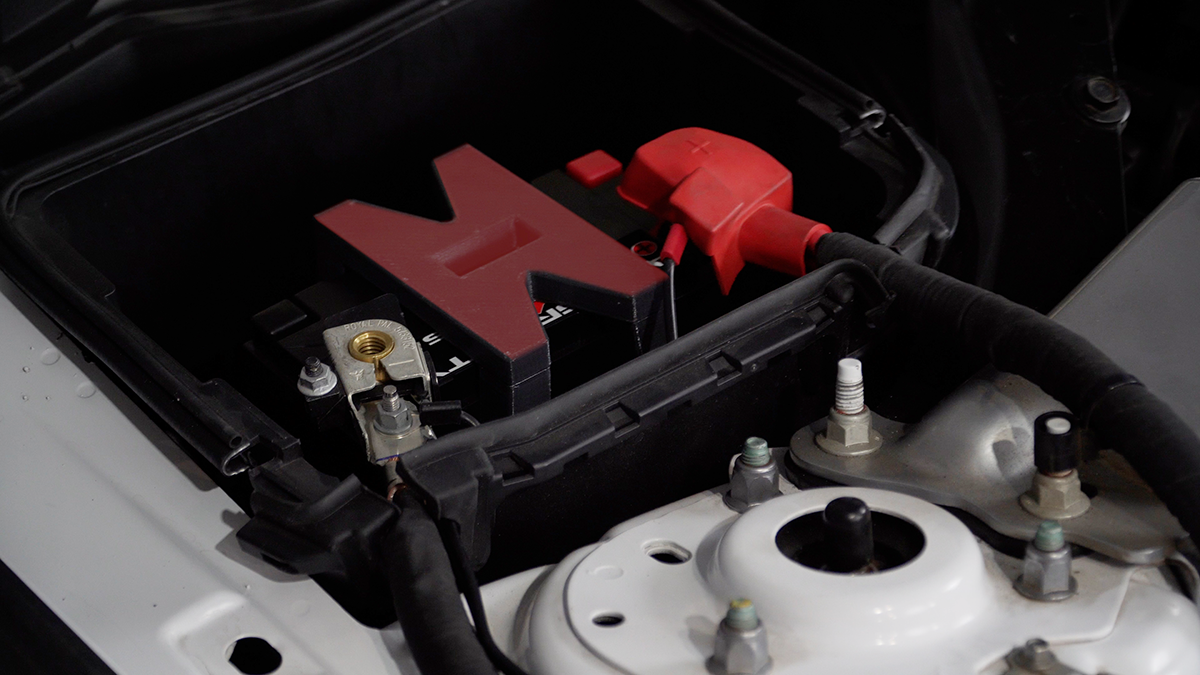
In this lesson we will go over how to post-process an ABS part using traditional sanding and painting techniques. We will be finishing the Ford Mustang Lithium Battery holder in order to make it look great under the hood of the car.

Materials Needed to Paint a 3D Printed ABS Part
Items you will need are:
- Enamel Spray paint for Plastics (in this case we are using a Matte finish spray paint, so no clear coat is needed.)
- Rustoleum Filler Primer
- Craft Knife/ Razor Blade
- Tweezers
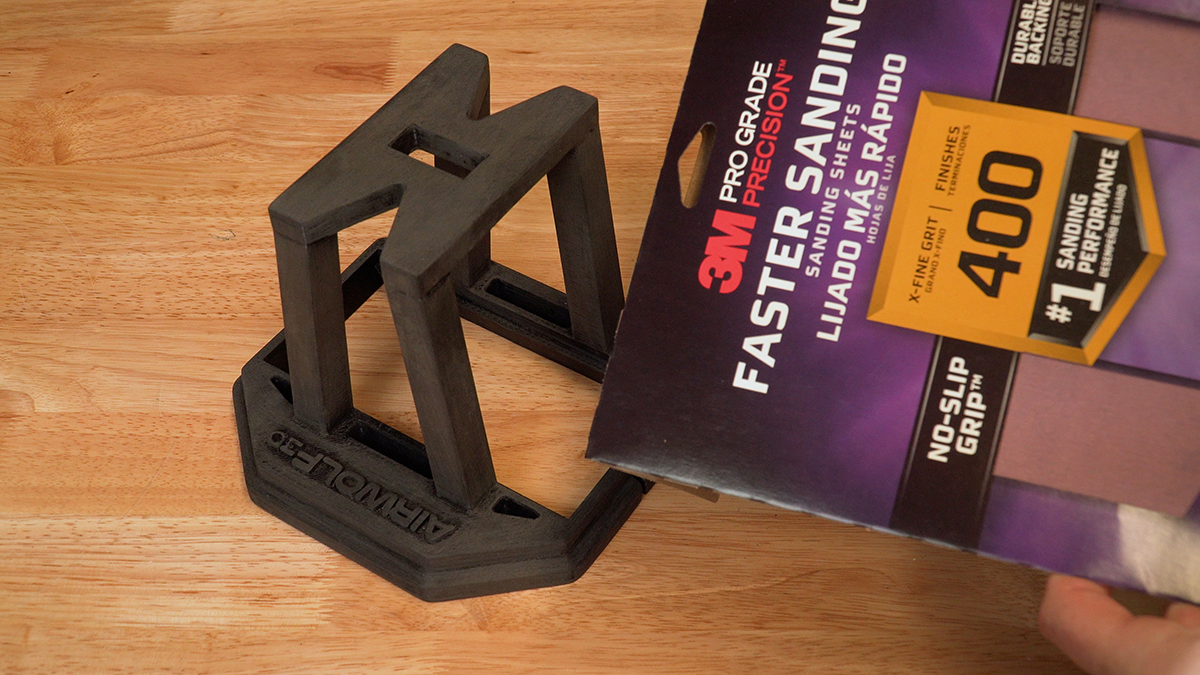
- Sandpaper grits 120-1000
- Painting Respirator Mask
- Needle nose pliers
- Gloves
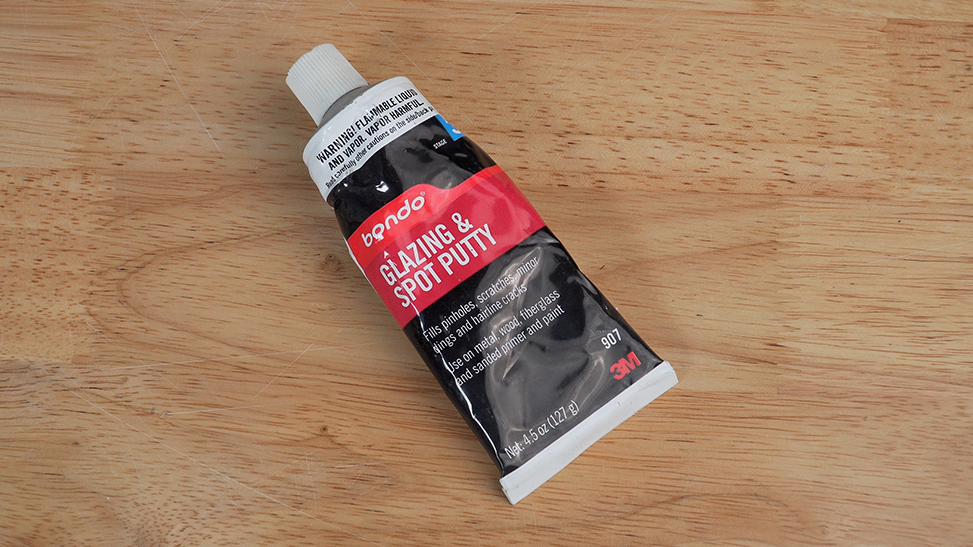
- Spot putty
Steps For Painting a 3D Printed ABS Part
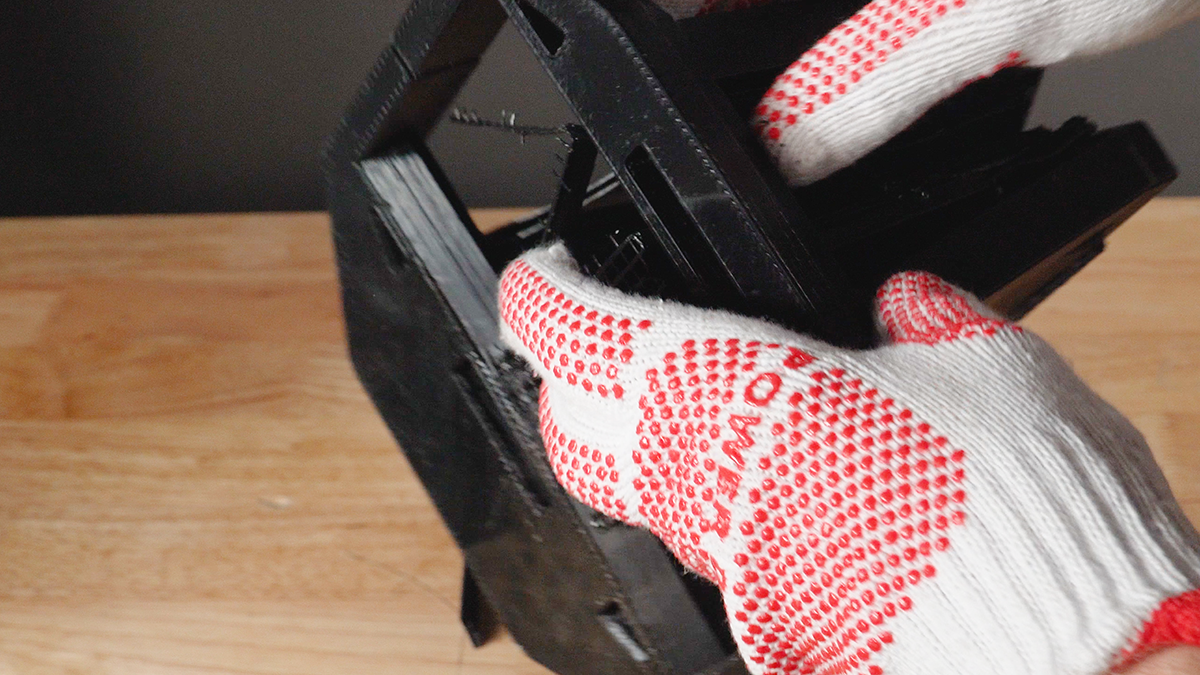
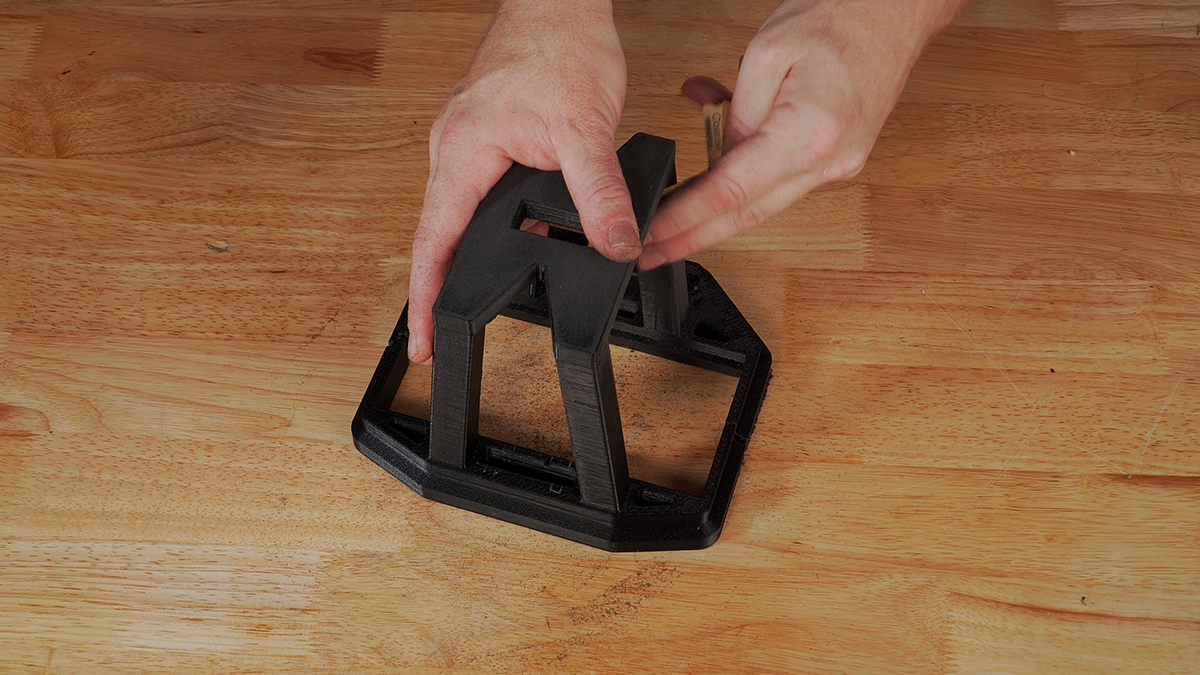
After printing the part, check it for inconsistencies, blemishes, defects, cracks, or any other errors. Remove support material and clean up the mating points between the supports and the part. You can use tweezers or needle nose pliers to get into tight areas. Make sure to wear gloves as the broken plastic pieces can be sharp.
Sanding:
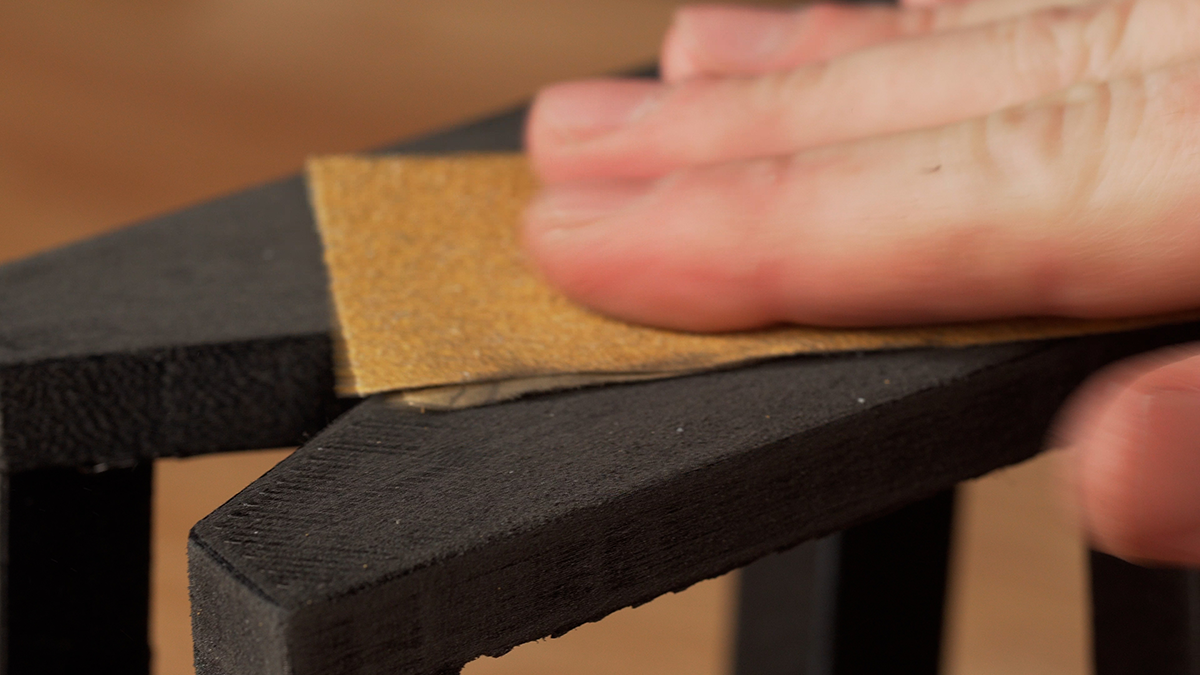
Once the support has been removed and the part has been cleaned up, take 80 grit sandpaper and begin sanding the areas that will be visible when installed in the car.

Make sure to wear a mask to prevent inhaling particles while sanding. Start with a rough grit of sandpaper in order to get rid of large defects and blemishes.
TIPS: If you would like to save time, only sand and paint the areas of the part that will be seen when it is installed.
Sand the part to remove layer lines and blemishes, but go slow and take your time. Skip the small details for now, as 80 grit sandpaper can be tough on these areas. Move up to finer sandpaper, and once you move past 200, wet the sandpaper before using it. This will help prevent plastic debris from building up within the sandpaper, as well as give the part a nicer surface finish.
Switching to 400 grit, sand until the part feels and looks completely smooth. You can go up to a finer sandpaper if you would like, but it is usually overkill and is not needed in most cases.

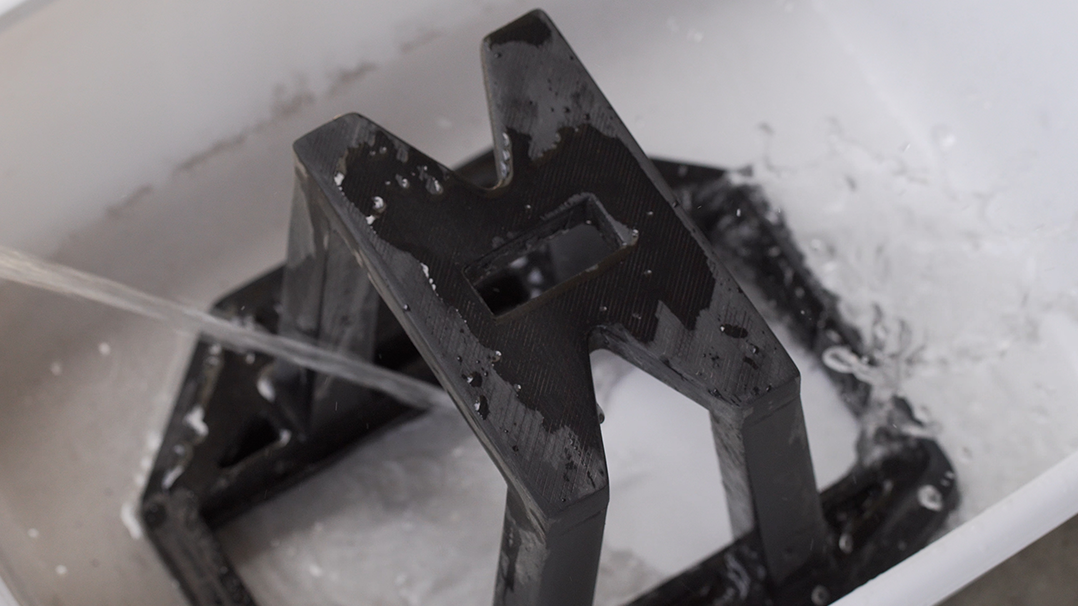
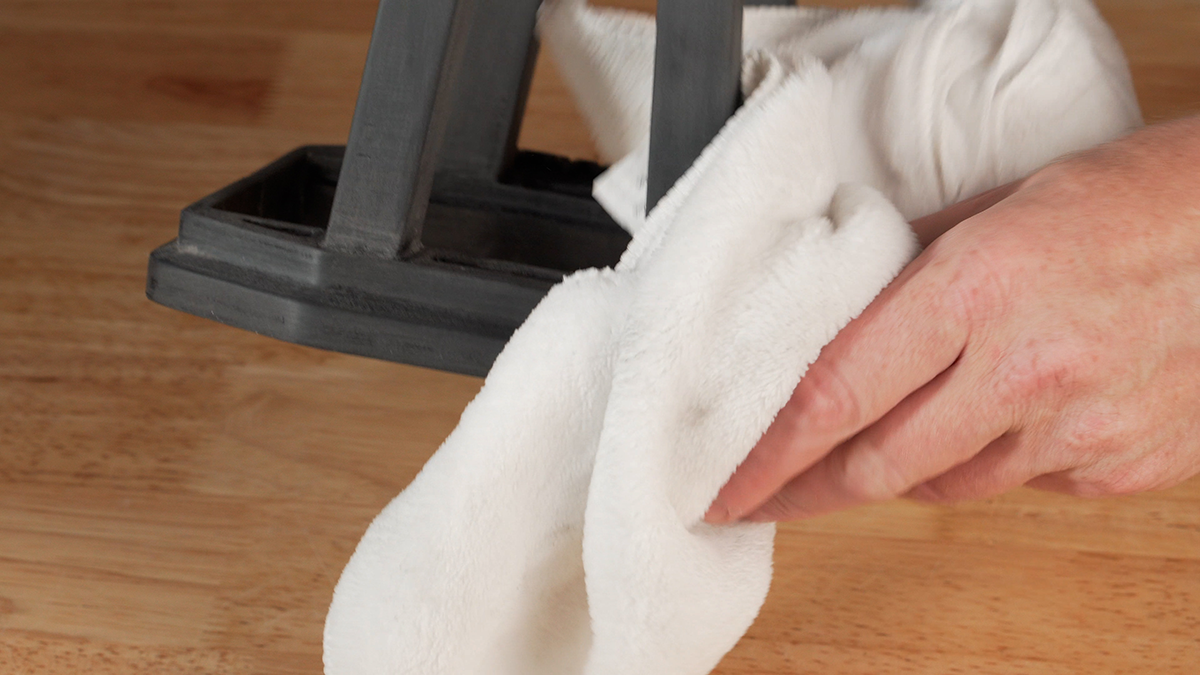
After sanding, wipe off the part and clean it with water in order to remove all of the sanding debris.
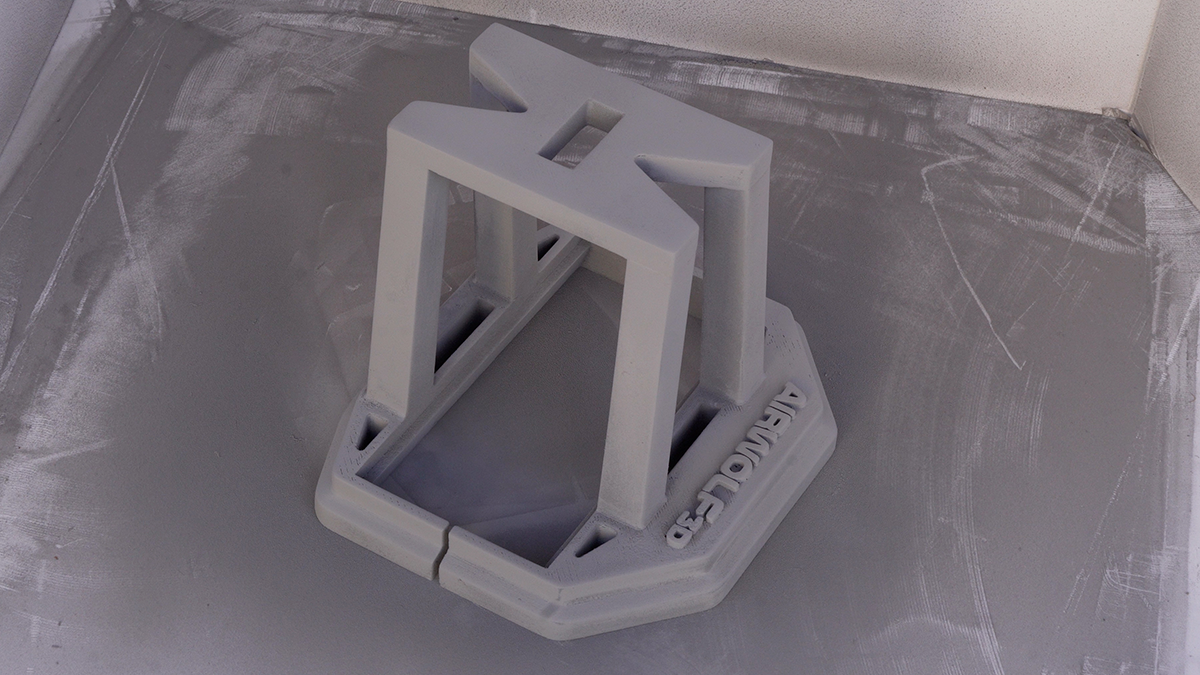
Primer:
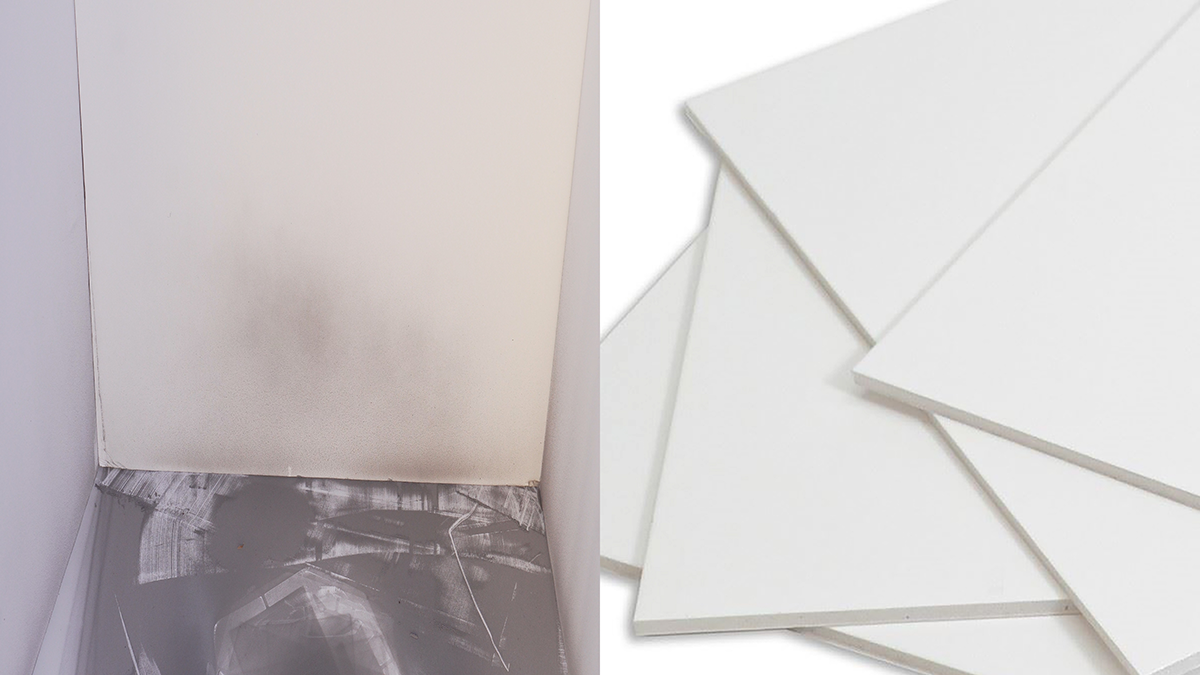
Using a controlled space with little airflow and little to no dust, place the part in a large box or on newspaper for painting. Parts can also be hung inside of a paint booth. Here, I use foam board to make a temporary paint booth.
Shake the primer can several times. This is very important. Filler primer contains a small amount of “filler” in order to help further with hiding blemishes, etc. If the can is not shaken enough, these fillers can clog the nozzle and come out in thick clumps on the part.
Start off with small, even strokes from about 10-12 inches away from the part. Do not fill in the entire surface with primer on the first coat. You want to do several thin coats in order to prevent dripping and to achieve even paint thickness.
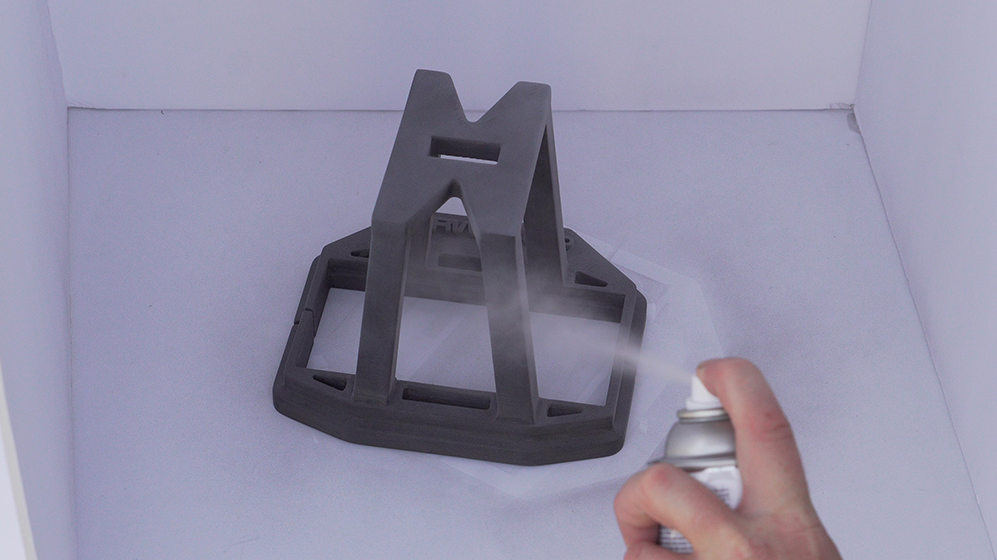
Make sure to rotate the model in order to prevent inconsistencies. It is also very important to wait until each coat is dry before adding another.
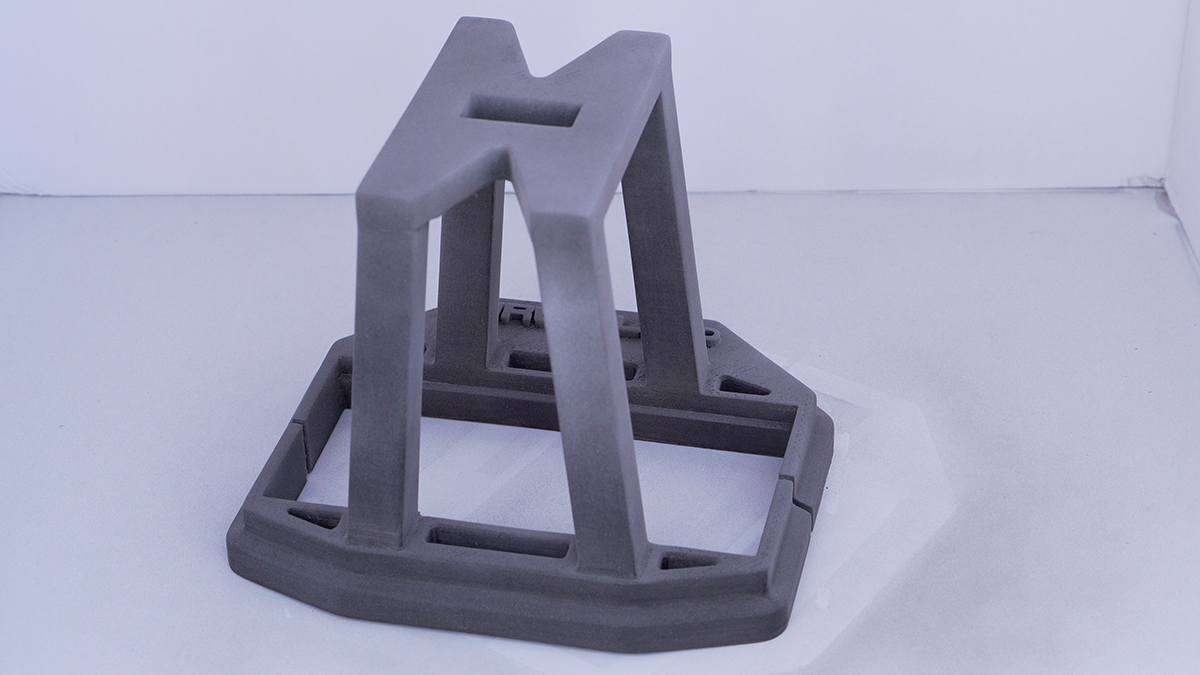
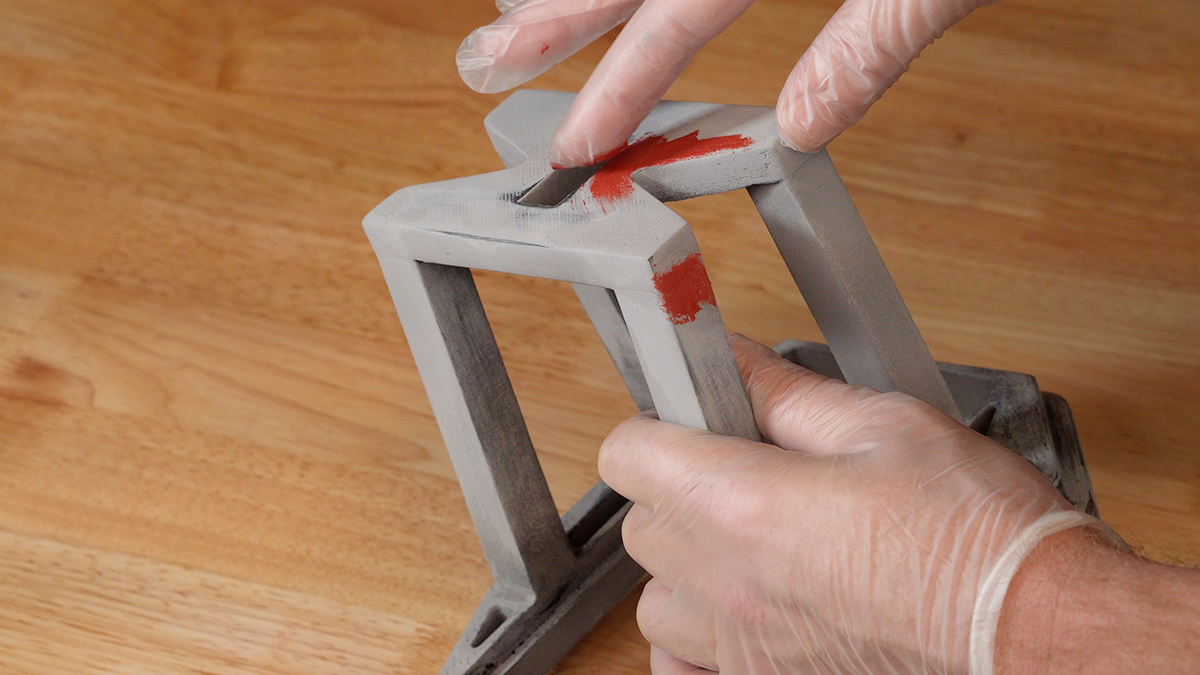
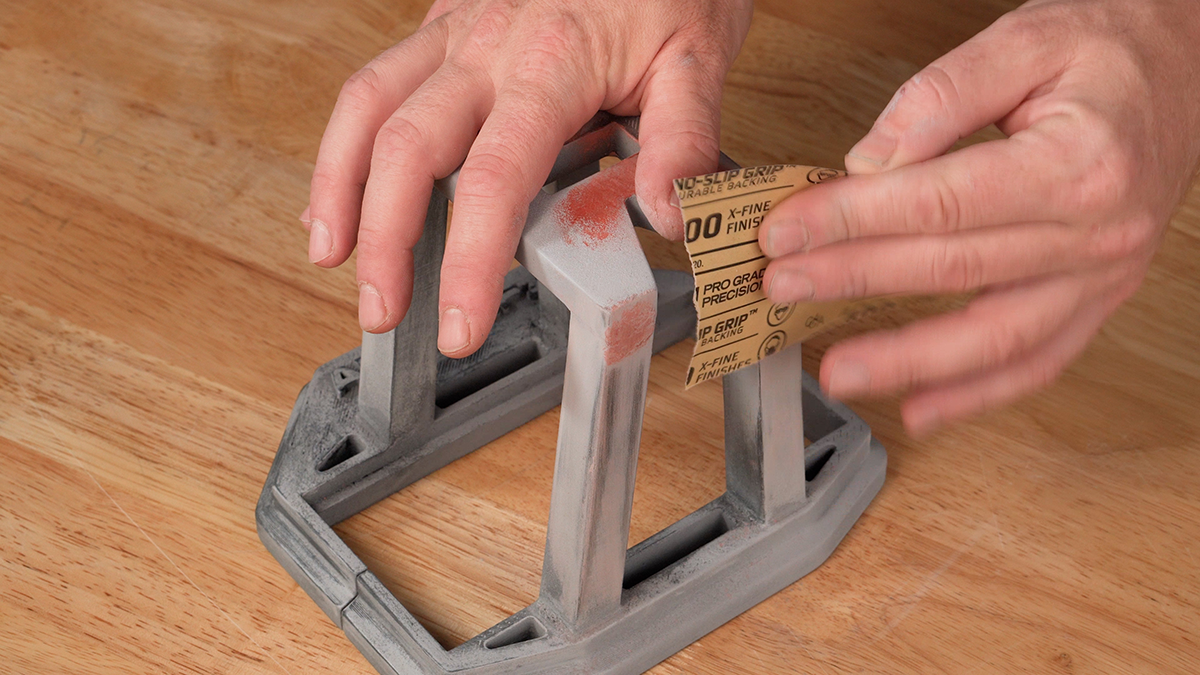
Once the primer has completely dried (see the directions on the can for drying times), inspect it to make sure you don’t need to sand any blemishes that had been missed in previous steps. For large holes or gaps, you can use spot putty with a paint knife to fill them in. Sand these areas until they are smooth, then spray the areas with primer in the same way as previous steps.
If rough areas of the primer are showing, sand and repaint them with primer until they are smooth.
The part is ready now for painting.
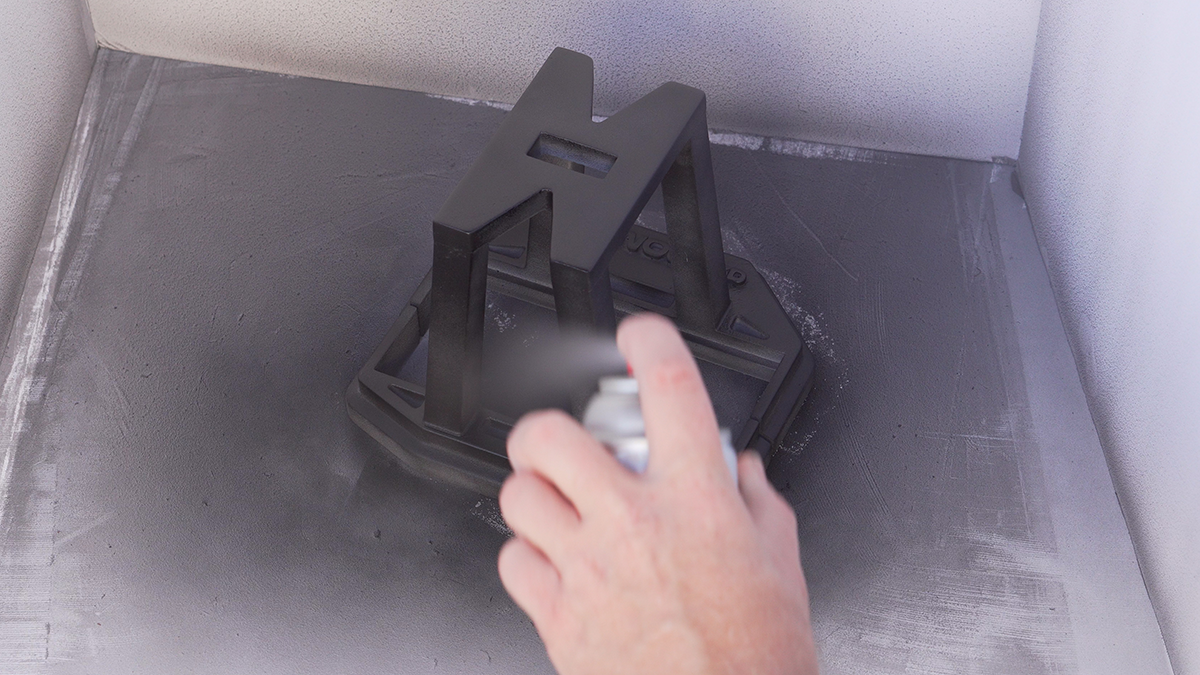
Paint:
There are many different types of paints, but we will be using what is most commonly available at local hardware and home improvement stores. Traditional enamel spray paint for plastics can be used to achieve great results, and it is affordable. Paired with a good quality primer, most traditional spray paints can work very well.

Most enamels which are safe for plastics will work great for ABS.

Shake the paint can several times. Using the same methods as the primer, start with light, even strokes about 10-12 inches above the part. Coat the part evenly and let each coat dry completely before starting another.
After a couple of coats, inspect the part again to check for any blemishes or inconsistencies that need to be sanded. If you find something that needs to be redone, sand it and start the process over, just in this area.
After light coats of paint, continue filling in areas in order to make the entire coat more consistent. Keep spraying thin layers until it is completely filled in.

Allow the part to cure for 24 hours after painting.
Tips for Painting Your 3D Printed ABS Part
TIPS:
- Make sure to shake the can in between coats. This is very important in order to prevent clogs in the spray can nozzle, and in order to achieve consistent results.
- Make sure the area where you are painting is free of dust and debris. Moving air from fans or wind can stir up dirt and dust that can ruin a paint job.
- Paint is toxic and harmful. Make sure to wear a mask. Use spray paint away from flammable objects.
- Bed liner spray and textured paints can be used in order to hide many blemishes and imperfections, including layer lines. It also gives the part a more “rugged” look.
Clear Coat (Optional):
In order to better “seal” the print job, a clear coat, or several coats of clear enamel can be used. This will help better protect the part, but can also leave a glossy look, which may be undesirable to some.

In order to clear coat the part, set it up the same way as if you were painting it. Perform 2-3 even, light coats and make sure you are covering all of the areas you have painted.

Painting an ABS part is time-consuming, but it can make a traditional 3D printed part look like something fresh out of an injection mold, and can be worth the effort if done properly.
Download the white paper here:
Download